
🚀 Getting Started with Astro
I was chatting with a colleague about writing technical blogs and realized something scary: with all the web dev advancements, I figured I’d have to shell out hundreds of dollars just for a simple site.
My colleague suggested GitHub Pages. I tried it, but unless you already use a Jekyll theme, it quickly becomes a nightmare of CI/CD, deployment actions, and confusing documentation. No thanks!
Then I saw a few great-looking blogs built with Astro. I decided to try it myself. I immediately started experimenting with an Claude to set up my first pages and components. It quickly became clear: the real, easy way to begin with Astro is…
npm create astro@latest

#Astro Setup wizard should appear
#Name your project which will be your folder
#Start with blog template

cd /project-name

ls /project-name || dir project-name

npm run build
npm run dev

#This should deploy your site on localhost http[:]//localhost:4321/

#Astro blog template structure is as follows

my-cool-site/
├── node_modules/       # All your installed packages (the boring stuff!)
├── src/                # 👈 THIS IS WHERE YOU BUILD YOUR SITE!
│   ├── components/     # Reusable components (Astro, React, Svelte, etc.)
│   ├── layouts/        # Wrappers for consistent page structure (headers, footers, etc.)
│   └── pages/          # Your website's content and routes! (e.g., about.astro becomes /about)
├── public/             # Static assets that don't need processing (images, fonts, robots.txt)
├── package.json        # Your project's script commands and dependency list
└── astro.config.mjs    # Astro's brain! Where you configure integrations and settings.
Once that’s set, you’re ready to start building and configuring your site! For example, if you want to use Markdown files and a custom color theme (like you see below), here’s exactly what my configuration looks like:
---
//astro.config.mjs
import { defineConfig } from 'astro/config';
import mdx from '@astrojs/mdx';
---
// https://astro.build/config
export default defineConfig({
  site: 'https://www.site.com/',
  integrations: [
    mdx(),
  ],
  markdown: {
    shikiConfig: {
      theme: 'andromeeda',
      wrap: true,
      transformers: [{
        name: 'line-numbers',
      }]
    }
  }
});
Now for the fun part: creating the actual components and pages your site needs. Think header, footer, search bar, a theme toggle—you know, all the standard web essentials. Just build ‘em!
Deploying the Site
You can deploy locally, sure, but getting it live is the real goal.
The Astro docs list tons of places to deploy (some free, some not). Like I said before, I tried GitHub and yeah, it works, but things just felt messy. Since all we need is a static site, there had to be an easier path.
Turns out, cloud giants like Microsoft Azure and Amazon AWS offer super-simple static site hosting right through their storage services. They even give you credit to try it out!
I already had an email, so I went with Microsoft Azure. Head over to portal.azure.com and use your email to grab an Azure subscription.

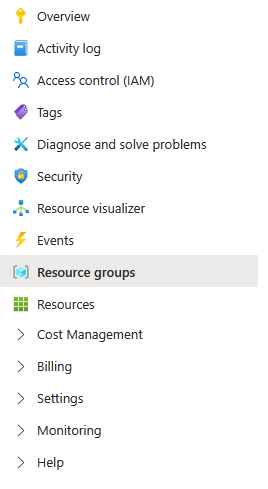
You’ll see your subscription immediately . Click it and look for the Resource Group option on the left. You need to create one first—it’s basically a project folder for everything you’re about to build.
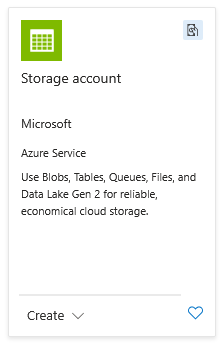
Once that’s done, grab a Storage Account. Search for it and create one, making sure to select the Resource Group you just made.
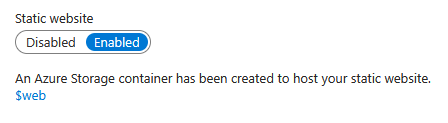
With your storage account ready, look under Data Management for Static Website. It’ll be disabled. Enable it!
This step creates a container named $web, gives you a domain, and sets index.html as the default. That $web container is where the contents of your finished build (from your local /dist folder) need to go so the site can be hosted.

This step creates a container named $web, gives you a domain, and sets index.html as the default. That $web container is where the contents of your finished build (from your local /dist folder) need to go so the site can be hosted.
You’re almost there! Now, you can’t just drag-and-drop folders in the portal. If your site is just a bunch of flat files, great—upload them directly. But if you have folders (like I did), you’ll need a proper tool like Microsoft Azure Storage Explorer or the Azure CLI. Sign in and upload your folders and files, then test your endpoint.
Quick Note: I spent forever on this. You absolutely must register your subscription with a resource provider. Go back to your subscription, hit Settings -> Resource providers, and register with Microsoft.Web.Resource
Azure deployment and Walkthrough: ‘Host A Static Website in Azure for less than $1 A Month’